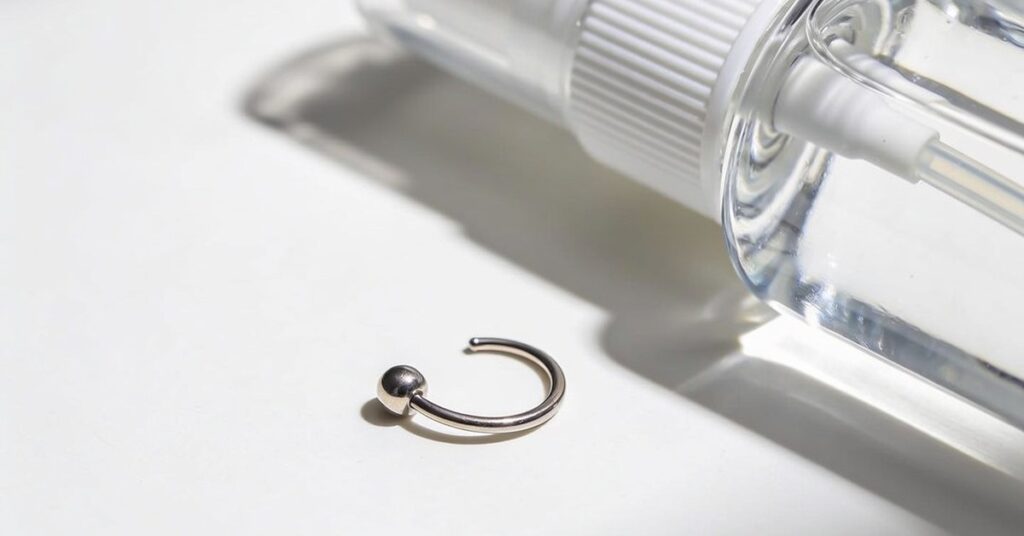
Dealing with a persistent piercing bump can be a frustrating setback to your personal aesthetics and body confidence, often causing unnecessary stress during the healing process. In this guide, you will discover the most effective, evidence-based protocols to resolve these irritations, learn how to distinguish common bumps from more serious concerns, and gain the practical knowledge needed to manage your recovery with total control. By following these professional-grade aftercare strategies, you will be fully prepared to restore your piercing to its optimal state efficiently and safely.
To understand how to get rid of a piercing bump effectively, you must eliminate the source of physical irritation, maintain a strict twice-daily cleaning regimen with sterile saline, and resist the temptation to touch or manipulate the jewellery. Most bumps are simply the body’s inflammatory response to trauma, movement, or poor-quality metal, meaning that once you remove the stressor and keep the area sterile, the bump will typically subside on its own without further medical intervention. If you are wondering how to get rid of a piercing bump quickly, realise that consistency and patience are your greatest allies, as aggressive scrubbing or DIY remedies often cause more damage than the original issue.
How to get rid of a piercing bump
Effective Strategies for Eliminating Piercing Bumps
Piercing bumps are typically the result of external irritation, constant pressure, or minor inflammatory responses rather than being permanent keloids. To successfully treat these bumps, it is essential to focus on removing the root cause of the distress and maintaining a consistent, gentle aftercare routine.
Primary Care and Cleaning Methods
The most important step in managing a bump is maintaining proper hygiene without over-cleaning the area. Follow these guidelines to encourage natural healing:
- Use a sterile saline solution (0.9% sodium chloride wound wash) twice a day to gently cleanse the area.
- Avoid rotating, touching, or fidgeting with the jewellery, as this frequently causes tissue damage.
- Refrain from using harsh substances such as rubbing alcohol, tea tree oil, hydrogen peroxide, aspirin paste, chlorhexidine, or iodopovidone.
- Keep the site dry after cleaning; using a hairdryer on a cool, low-velocity setting is an effective way to remove excess moisture.
Managing Lifestyle and Jewellery Factors
Bumps often appear due to environmental factors or the body’s reaction to the jewellery material. Consider the following adjustments to minimise friction and pressure:
- Ensure the jewellery is made of high-quality, hypoallergenic material to prevent allergic sensitivities.
- Avoid putting direct pressure on the piercing, such as sleeping on the affected side or wearing tight clothing that rubs against the area.
- For comfort if the site is tender, you may gently apply a warm compress for a few minutes once daily to soothe the tissue.
When to Consult a Professional
While most bumps resolve with time and proper home care, some symptoms indicate a more serious issue that requires expert medical or professional intervention. Seek advice from your doctor or a qualified piercer if you experience any of the following:
- The bump continues to grow despite consistent, gentle aftercare.
- The area becomes significantly painful, excessively hot to the touch, or severely swollen.
- There is discharge of yellow or green pus, or you notice red streaks radiating from the site of the piercing.
Immediate Steps to Stabilise Your Piercing
You can stabilise a healing piercing by establishing a disciplined hygiene routine and protecting the site from accidental trauma. You must wash your hands thoroughly before touching the area to prevent transferring bacteria, and you should keep the original jewellery in place for at least 6 weeks to avoid disrupting the delicate tissue inside the channel.
Essential Daily Hygiene Routines
The most effective way to clean the area is to use a sterile, premade saline wound wash twice daily, ensuring you soak the piercing for 2–4 minutes per session. To protect the piercing while you sleep and prevent the irritation caused by pressure, start using a travel pillow, which allows your ear or body part to rest in the hole without making contact with the bedding. Remember: Do not attempt to pop the bump, as this will introduce infection and cause permanent scarring.
The Role of Saline Soaks and Cleaning Techniques
Using a 0.9% sterile saline wound wash is the most reliable method to reduce inflammation and flush out impurities from an irritated piercing. Many guys wonder if they can just use soap or alcohol, but from my experience, keeping it simple with saline is the only way to avoid further drying out the skin and ruining your hard-earned progress.
| Method | Process | Duration |
|---|---|---|
| Saline Spray | Spray directly on the site | 2–4 minutes |
| Sea Salt Soak | 1/4 tsp salt in 8oz warm water | Max 5 minutes |
| Warm Compress | Lint-free towel with warm saline | 5–10 minutes |
Optimising Your Jewellery Material and Fit
Switching to implant-grade titanium (ASTM F-136) is the single most effective way to resolve a bump caused by metal sensitivity or poor-quality alloys. You should use a professional resource such as Safepiercing.org to locate a reputable piercer who can safely perform the jewellery change for you, ensuring the new piece is high-quality and free of nickel.
- Verify the piercer’s credentials via a professional association.
- Ensure the new jewellery is internally threaded to prevent tissue scraping.
- Downsize the bar length once initial swelling has subsided to reduce movement.
Distinguishing Between Irritation Bumps and Keloids
You can differentiate between a standard irritation bump and a keloid by observing the growth pattern and the response to jewellery removal. Piercing bumps, including granulomas, typically occur approximately 6 weeks after a piercing and appear rapidly before stopping their growth, whereas keloids are characterised by a slow, continuous expansion that does not cease even if the jewellery is taken out.
Because keloids are a form of scar tissue, they will not disappear after removing the jewellery and often require professional medical intervention such as corticosteroids, surgery, or laser treatment. If you suspect you are dealing with a keloid, you must consult a GP or a dermatologist immediately, as standard aftercare will be insufficient to treat this condition.
Prohibited Practices and Common Mistakes
To ensure your piercing heals correctly, you must avoid harsh household chemicals and misguided „hacks” that can exacerbate inflammation. Do not use rubbing alcohol, hydrogen peroxide, tea tree oil, or aspirin pastes on the piercing area, as these substances are far too aggressive and can cause chemical burns or severe dryness that hinders the natural healing process.
- Rubbing alcohol: Dries out the skin and slows healing.
- Hydrogen peroxide: Damages healthy cells and delays recovery.
- Tea tree oil: Causes heavy irritation and contact dermatitis.
- Aspirin pastes: Can lead to severe chemical burns.
When to Seek Professional Medical Advice
You should consult a medical professional if your piercing bump shows no signs of improvement or if you are specifically advised to remove the jewellery by a healthcare provider. Ever found yourself in a similar spot where the DIY approach just isn’t cutting it? If the irritation continues to disrupt your sleep or daily comfort, consider wearing adhesive hydrocolloid protective bandages, known as „Bump Dots,” over the jewellery at night to create a barrier.
Frequently Asked Questions
Can I use aspirin paste to shrink a piercing bump?
No, you should never use aspirin paste on a piercing, as it is a common myth that can cause significant chemical irritation and further damage the healing tissue. Stick to sterile saline wound wash to avoid complications.
How long should I keep my jewellery in?
You must keep the piercing jewellery in for at least 6 weeks; removing it prematurely can cause the wound to close while trapping bacteria, which may lead to an abscess. Always consult a professional before removing any jewellery during the healing phase.
Why is my piercing bump persisting?
If the bump persists, it is likely due to continued physical irritation, poor-quality jewellery material, or incorrect cleaning habits; ensure you are not sleeping on the piercing and that your jewellery is implant-grade titanium. Continued irritation will prevent the body from completing the healing cycle effectively.
What are Bump Dots and are they safe?
Bump Dots are adhesive hydrocolloid protective bandages that can be worn over the jewellery at night to shield the piercing from friction and accidental knocks. They are generally safe, but ensure the area is clean and dry before application to prevent moisture trapping.
Mastering the process of how to get rid of a piercing bump comes down to consistent, sterile care and the patience to let your body heal without interference. Stick to implant-grade titanium and trust the healing process, as your commitment to gentle aftercare is the surest path back to a healthy, irritation-free piercing.